It’s easy to use custom fonts with Lifeshine, you could upload any font to your site through theme’s Custom Font system.
Step 1. Prepare font files for upload. Your fonts files should be in one of these formats:
- EOT – Embedded OpenType ( Required for Internet Explorer )
- TTF – TrueType ( Works in most browsers except IE and iPhone )
- SVG – Scalable Vector Graphics ( iPhone/iPad )
- WOFF, WOFF2 – Web Open Font Format ( Compressed, emerging standard )
To provide the best range of browser support, its best to include as many font formats as possible. You want to make sure that you have the appropriate license to use the font. Almost all free fonts can be used on a website and many premium fonts are available with a license that covers web usage.
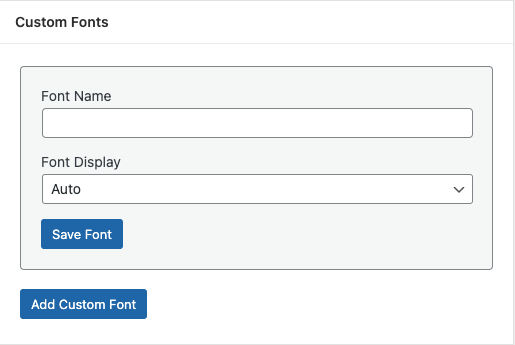
Step 2. Go to Lifeshine > Fonts, find Custom Fonts section. Click Add Custom Font button to give your font a unique name.
Step 3. Once the font is added, click on the Variations button to show font variations and click on Add Font Variation.
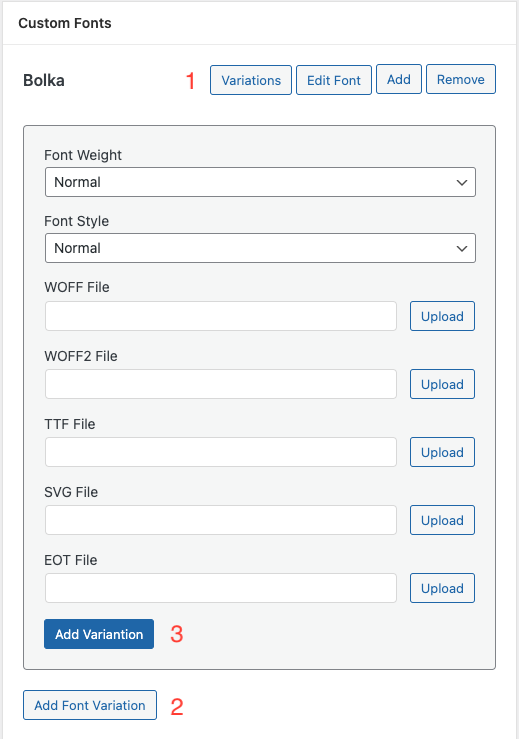
Step 4. Choose the Font Weight and Font Style and upload font files in the right format and Click on Add Variation button.
Step 5. Repeat step 4. to add all font variations you need for your website and finally click on Add button to add your custom font to the Font List and Save Fonts.
If your fonts are added successfully, you’ll see the Custom Fonts appearing in typography settings in Customizer as well as in Elementor.